How to Repair a Single-Handle Kitchen Tap
How to Repair a Single-Handle Kitchen Tap
Blog Article
What're your beliefs on How to Repair a Single-Handle Kitchen Faucet?
The kitchen is the heart of lots of residences. This is the room where the household prepares and also shares meals together. Due to the fact that a lot time is spent right here, the components and accessories require to be useful and also fit with the style of the space. Kitchen area taps in the sink and kitchen area islands are made snappy in mind. With numerous selections, you are sure to find the best suitable for your residence. Many people match the components to design of kitchen cabinets.
Styles of Kitchen Area Taps
The sink tap use to be merely practical; the function was to supply water to sinks for food preparation or cleansing. No one actually thought about what it appeared like or if it matched the decor in the area. Those days more than. Cooking area components are currently readily available in a range of finishes and styles to match every home.
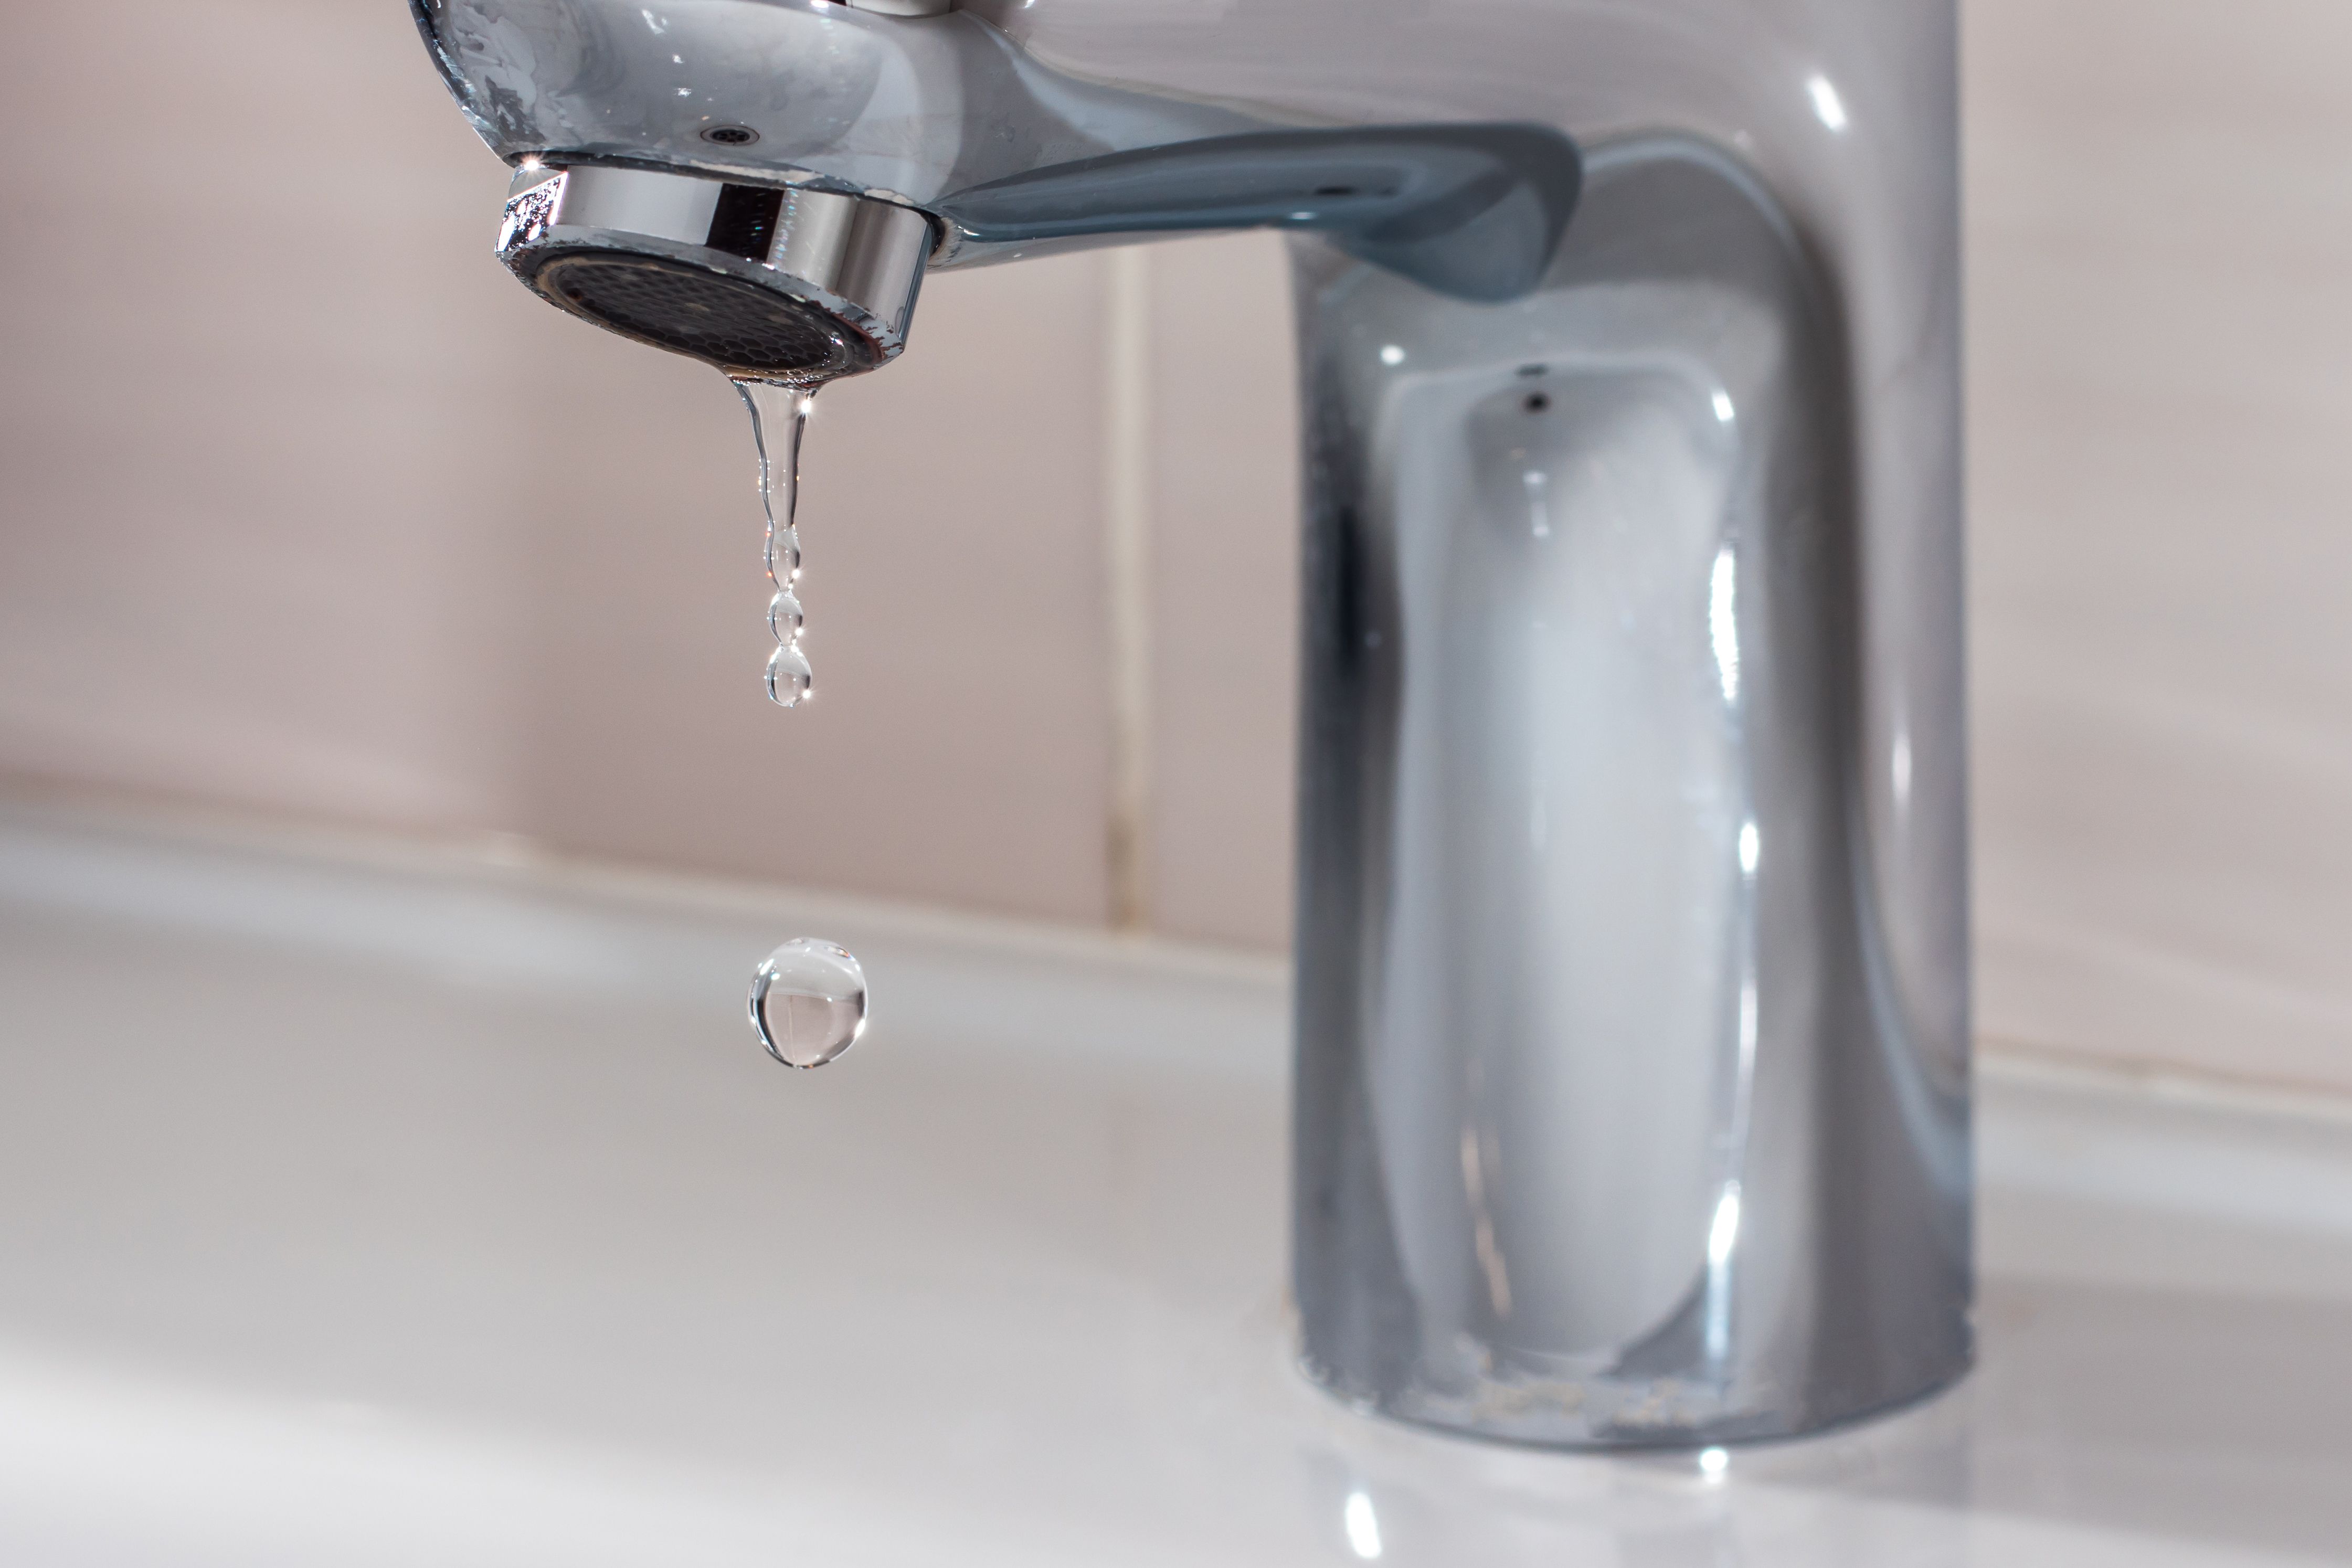
Kitchen Faucets: Repair Work and Maintenance
Repairing and maintenance is simpler than ever before as well as can be done by a handy homeowner. Rubber rings can be easily replaced at home when needed. Prior to working with the sink, switch off the water and also cover the drains pipes. Effectively cleansing and also keeping your faucet will prolong the life as well as maintain it in good working order.
Examine the maker's instructions for cleaning up the surface. A lot of can be cleaned up with moderate soap as well as water or home window cleaner. Do not utilize extreme cleaning products, which can damage the finish. Polish matte finishes with a furniture polishes. Check the label to be sure the item you make use of is secure for the material of your fixtures.
Some of the available coatings consist of:
+ Brass (natural is more preferred than refined).
+ Weather-beaten brass.
+ Nickel.
+ Bronze.
+ Antique copper.
+ Combed nickel.
+ Stainless-steel.
+ Porcelain.
+ Chrome.
+ Black.
The cleaned as well as weathered look is much more popular than the shiny, polished finishes. The polished chrome faucet is most often used in contemporary design cooking areas now. Elaborate Victorian layouts are readily available for more formal looking kitchens. Their usage as a layout function has actually led to fixtures being one of one of the most preferred upgrades for individuals purchasing a new residence.
If your house has dull components that appear out of date or do not match your house, replacing them is very easy and also low-cost. Just make it part of a little home renovation as well as decoration task. The price for replacements differs as well as the finish contributes in the cost. Chrome is the least expensive and also most long lasting material made use of. Other materials can be a fair bit much more pricey as well as require added care. See your local plumbing or residence improvement shop to see the different designs available. A plumber can do the work for you in about fifteen mins.
Setup Treatments.
The new taps are simpler to mount than older models. The majority of manufacturers include all links and installations needed to mount the unit on your own. Complete setup instructions are consisted of with the faucet. Try to find full sets that feature the flexible pipes needed to attach to your water system. If these aren't consisted of, you will require to buy them separately. Don't be alarmed if you discover fragments in the water when you finish installation. This is just fragments trapped in the component from manufacturing and also setup. They will rinse clear if you let the water compete a couple of minutes.
Shower and also Restroom Components.
The combination of design and feature found in kitchen area components has expanded into the restroom too. There is a wide range of options readily available in shower faucets. You can select the standard wall surface install tap or opt for a detachable head. Many can be adjusted to control the water circulation according to your preference.
There are two standard choices in manages: take out and private handles. Some individuals find one deal with to be easier and also easy to use. 2 handles are more trendy as well as a variety of styles are offered in the takes care of. You need to pick according to the design of your sink or bathtub. Taps can be matched for the bathtub and sink, if you choose.
How to Install or Replace Your Kitchen Faucet: A Step-by-Step Guide
Tools and Materials Needed
Of course, the most important thing you need before starting any kitchen faucet installation is the new faucet. You can pick out a kitchen faucet online or in any home improvement store. The entire process will be easier if you choose one with the same number and same-size holes as your old model, but it's not technically necessary.
Next, take a look at your new faucet and your existing sink to see if you have the proper materials for hooking everything up. Some faucets have already-attached tubing on the faucet end already while others will just hook up to standard tubing lines. If you can choose your tubing, most experts recommend braided steel supply lines, which are sturdy and flexible, and have leak-proof connectors already attached. Most sinks just need tubes measuring 12 inches in length and three-eighths of an inch to a half-inch in diameter. Check your faucet and sink to make sure standard sizes will work.
In addition to basic materials, be sure you have these tools:
An adjustable wrench A pipe wrench A standard screwdriver set A bucket Old rags or towels Caulk (optional) Teflon tape (optional) A flashlight (optional but it makes things a lot easier) A basin wrench (may not be needed) A hammer (may not be needed) A pipe and tube cutter (may not be needed) A handsaw (may not be needed) Pay Attention
The most important tip for installing a kitchen faucet is simply to pay attention as you work. This type of installation doesn’t require any special skills or technical knowledge. However, there are a lot of small parts that must be assembled in the correct order to prevent leaks or other mishaps. Before you start, read over all the installation instructions that came with your faucet. If you're new to working with faucets, watch some online instructional videos from a source you trust.
Prepare for Tight Squeezes
Once you get started, you’ll quickly find that the tricky part is just being able to reach into tight places and turn various nuts and bolts. If possible, invest in a basin wrench to make this job easier.
Cut It Out
Another tip for saving on time is cutting out your old faucet. If you aren't planning on using your leaky faucet again, you can just cut through assembly parts to pop it right off your sink.
Get the Picture?
If you’re worried about being able to reattach everything properly, consider taking a photo before you start. This can help you remember the original plumbing configuration.
Mind the Gaps
To prevent leaks, use caulk under the faucet plate and Teflon tape around the supply-line connectors.
https://www.homeserve.com/en-us/blog/how-to/install-kitchen-faucet/
We had been shown that editorial about Should I Repair Or Replace My Kitchen Faucet? through a good friend on a different web address. Appreciated our write up? Please share it. Help someone else locate it. Thank you for your time invested reading it.
Book Inspection Report this page